 Save to Pinterest
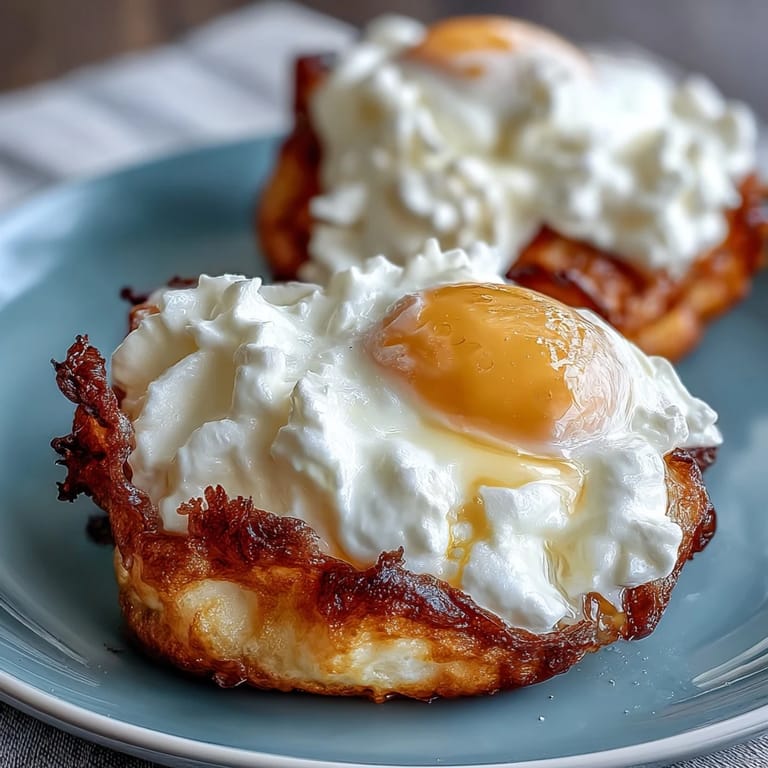
 The first time I made cloud eggs, I was lured in by the odd silence that settled over my kitchen while the whites stiffened beneath my whisk. Early morning sunlight slanted through the window and I wondered if the clouds outside envied the ones puffing up on my countertop. There was something delightful about sculpting edible clouds—equal parts art and breakfast. Not at all what I was expecting from a couple of eggs and some seasoning. Suddenly, breakfast felt like a gentle, edible experiment.
Once, on a particularly dreary Sunday, I whipped these up for my partner after a rough week—within minutes, her laughter echoed as she poked a golden yolk and watched it slowly ooze over toast. That moment of surprise made my quiet effort feel unexpectedly magical for both of us. Since then, cloud eggs have become our go-to when we want breakfast to feel just a little bit charmed, no matter what the sky actually looks like outside.
Ingredients
- Eggs: Fresh, large eggs give the cloud the most volume—be careful to separate whites and yolks so the yolks stay completely intact.
- Salt: Even just a pinch brings out all the flavor and keeps the eggs from tasting bland.
- Freshly ground black pepper: A little goes a long way, and its warmth works beautifully with airy whites.
- Parmesan or cheddar cheese (optional): Grate it finely so it melts smoothly into the whites, adding a lovely savory note.
- Chives or parsley (optional): Chop finely so no bites are overwhelmed—herbs add both color and brightness.
Tired of Takeout? 🥡
Get 10 meals you can make faster than delivery arrives. Seriously.
One email. No spam. Unsubscribe anytime.
Instructions
- Get Your Oven Hot:
- Set the oven at 450°F (230°C) and cover a baking sheet with parchment so nothing sticks or browns too fast.
- Separate Eggs Like a Pro:
- Crack each egg and gently tip the yolk back and forth between shell halves, letting just the whites slip into a mixing bowl—carefully slide each yolk into its own small bowl.
- Whip Up the Clouds:
- Beat the whites on high speed until you get thick, glossy peaks—the kind that won't fall over if you turn the bowl upside down.
- Season and Add Extras:
- Fold in the salt, pepper, and any cheese or herbs, being gentle so the whites stay fluffy and airy.
- Sculpt and Shape:
- Spoon the mixture in two generous mounds onto the baking sheet; with the back of your spoon, carve a well in each mound deep enough to cradle the yolk later.
- Bake, Then Add Yolks:
- Bake the whites solo for 3 minutes; they'll puff and set just enough—then remove and nestle a yolk into each cloud's center.
- Finish Baking:
- Return to the oven for another 3–5 minutes, watching for yolks to just set yet stay runny inside—don't walk away.
- Serve and Enjoy:
- Ladle each delicate cloud onto a plate, finish with extra herbs if you have them, and dig in right away for maximum fluffiness and color.
 Save to Pinterest
  Save to Pinterest
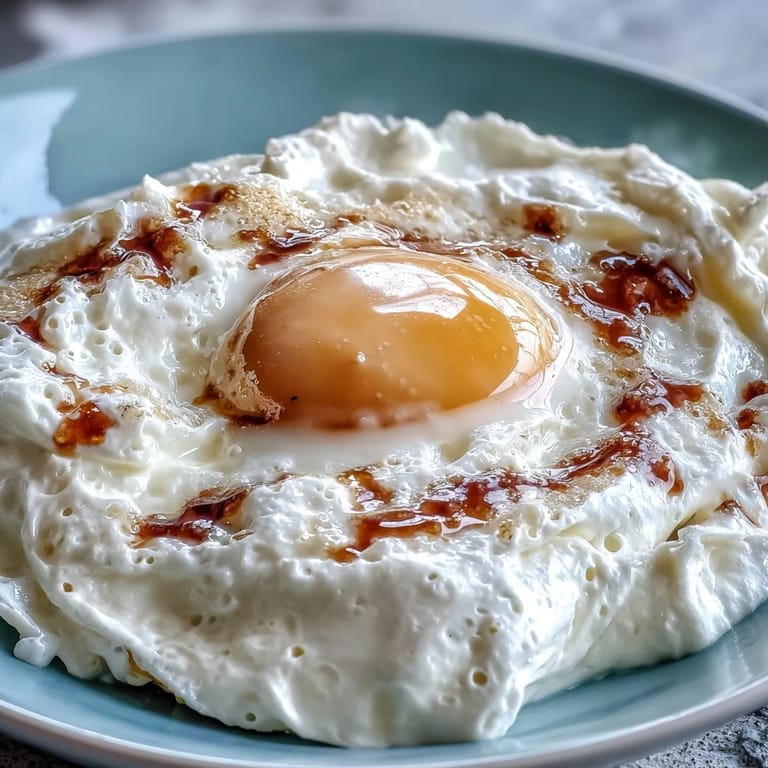
 The afternoon I surprised my niece with cloud eggs, she cheered at the 'egg volcanoes'—suddenly they weren't just breakfast, but a science project she could eat. She still asks for 'those funny clouds' whenever she visits, making the dish a secret handshake between us.
Making Them Your Own
Swapping in different cheeses or finely diced roasted veggies turns these eggs into a canvas for whatever spare bits you find in the fridge. Once I added a pinch of smoked paprika just for fun and it delivered a subtle, warm aroma that immediately became a family demand.
Serving Suggestions I Love
Nothing beats serving these atop a perfumed sourdough slice, but I've also piled them on a bed of peppery arugula salad for lunch. For heartier mornings, a side of crispy pan-fried potatoes turns this bright start into a weekend feast.
Troubleshooting and Tiny Triumphs
It took me a few tries to get the whites just right—too little whipping and they're flat, too much and they're almost dry. Don’t worry about perfect shapes; even uneven clouds look dreamy on the plate.
- If you don’t have parchment, grease your pan and shorten the baking time a tad.
- Try a little lemon zest for a surprise pop of flavor.
- Yolks keep cooking off heat, so plate up quickly for that ideal runny center.
 Save to Pinterest
  Save to Pinterest
 Every cloud egg comes out a little different, and that’s the joy. Play with it and breakfast will never feel routine again.
Recipe FAQs
- → How do I get the egg whites to stiff peaks?
Use a clean, dry bowl and ensure no yolk gets into the whites. Start whisking at medium speed, then increase to high until glossy peaks form. Cold whites whip best if brought to room temperature first.
- → Can I add cheese or herbs to the whites?
Yes. Gently fold in finely grated Parmesan or cheddar and chopped chives or parsley after whipping to maintain volume while adding flavor.
- → How long should I bake for a runny yolk?
Bake the whites for about 3 minutes, add the yolks, then return to the oven for 3–5 minutes. Shorter times keep yolks runny; longer yields firmer yolks.
- → Any tips for easy handling and baking?
Use parchment on a rimmed baking sheet and create a deep well with the back of a spoon. This stabilizes the yolk and prevents sticking for easy transfer to plates.
- → What are good serving options?
Serve on toasted bread, a bed of greens, or with sautéed mushrooms or crispy bacon bits. A sprinkle of herbs or extra cheese brightens the dish.
- → How should leftovers be stored and reheated?
Cloud Eggs are best eaten fresh. If necessary, refrigerate in an airtight container up to one day and gently rewarm in a low oven to avoid overcooking yolks.