 Save to Pinterest
 The first time the kitchen filled with the warm, sweet smell of these diploma and graduation cap cookies, I hadn’t even intended to bake anything fancy—I was just celebrating my cousin’s graduation in the middle of June, sweat sticking to my arms while I nervously piped gold tassels. Who would’ve guessed such simple shapes could feel so victorious perched on a tray. That afternoon, I got powdered sugar everywhere, and nobody minded. The royal icing gleamed so beautifully I couldn’t resist snapping a photo before anyone could grab a cookie. When my cousin grinned at the golden caps, it felt like we’d invented a new family tradition on the spot.
The day I brought these to my friend’s graduation brunch, we spent half an hour laughing over which icing tip made the best diploma ribbon swirl. It felt good knowing something homemade added to everyone’s sense of celebration, and by the time the last cookie was gone, I was already fielding requests for the recipe.
Ingredients
- All-purpose flour: This is the base of our cookie, and I always fluff it with a fork before measuring for the softest crumb.
- Unsalted butter: Room temperature makes all the difference; too cold and the dough won’t come together well.
- Granulated sugar: Sweetens the dough, but I’ve learned to beat it with the butter until pale and creamy—don’t rush this step.
- Large egg: This binds the dough and helps the cookies hold up to cut-outs and decoration.
- Pure vanilla extract: A fragrant note that rounds out all the flavors, so I never skimp.
- Almond extract (optional): Adds a hint of something special; try a little first—it can easily overpower if you go overboard.
- Salt: Even for sweet cookies, a pinch of salt wakes up all the flavors.
- Powdered sugar: The secret to glossy, professional-looking royal icing—sift it to avoid lumps.
- Egg whites (or meringue powder + water): The structure and shine in the icing; pasteurized egg whites or meringue powder both work here for safety and ease.
- Cream of tartar: It stabilizes the royal icing and keeps it from deflating as you pipe.
- Black gel food coloring: Gives deep, bold color to graduation caps—gel colors don’t thin out your icing like liquids do.
- Gold edible luster dust + clear alcohol or lemon extract: That finish that catches the light—mix with alcohol or lemon extract for easy painting and a quick dry.
Tired of Takeout? 🥡
Get 10 meals you can make faster than delivery arrives. Seriously.
One email. No spam. Unsubscribe anytime.
Instructions
- Cream the base:
- Using an electric mixer, blend the butter and sugar in a large bowl until it looks pale and fluffy, scraping down the bowl as you go.
- Mix in the egg and flavors:
- Beat in the egg, vanilla, and almond extract one at a time; listen for that gentle thwack as the egg breaks in—always a good sign.
- Add dry ingredients:
- Gradually add flour and salt, mixing just until the dough forms big clumps and pulls away from the side of the bowl.
- Chill the dough:
- Divide the dough, press each half into a disk, and wrap well; chilling gives you less spread and neater cookies, so don’t skip it.
- Roll and cut:
- Once chilled, roll the dough to 1/4-inch thickness on a floured counter; use cap and diploma cutters for festive shapes—press firmly to get perfect lines.
- Bake cookies:
- Set shapes on parchment-lined baking sheets and bake at 350°F until just golden at the edges, about 8–10 minutes; your kitchen should smell like a bakery by now.
- Cool completely:
- Let cookies cool right on the rack so the bottoms stay crisp and ready for decorating.
- Make the royal icing:
- Beat egg whites (or meringue powder + water) until frothy, then add powdered sugar and cream of tartar slowly until stiff, shiny peaks form—when you lift the beater, the icing should hold.
- Tint and prep:
- Divide icing into bowls: tint one black for caps, keep another white for diplomas, and leave some icing for gold; cover with damp cloths to prevent drying out.
- Decorate:
- Pipe outlines, flood, and add details as you like; don’t worry about perfection—once the gold goes on, everything looks elevated.
- Add gold accents:
- Mix luster dust with alcohol or lemon extract, then paint on details like tassels using a fine brush; allow cookies to dry completely before stacking or sharing.
 Save to Pinterest
 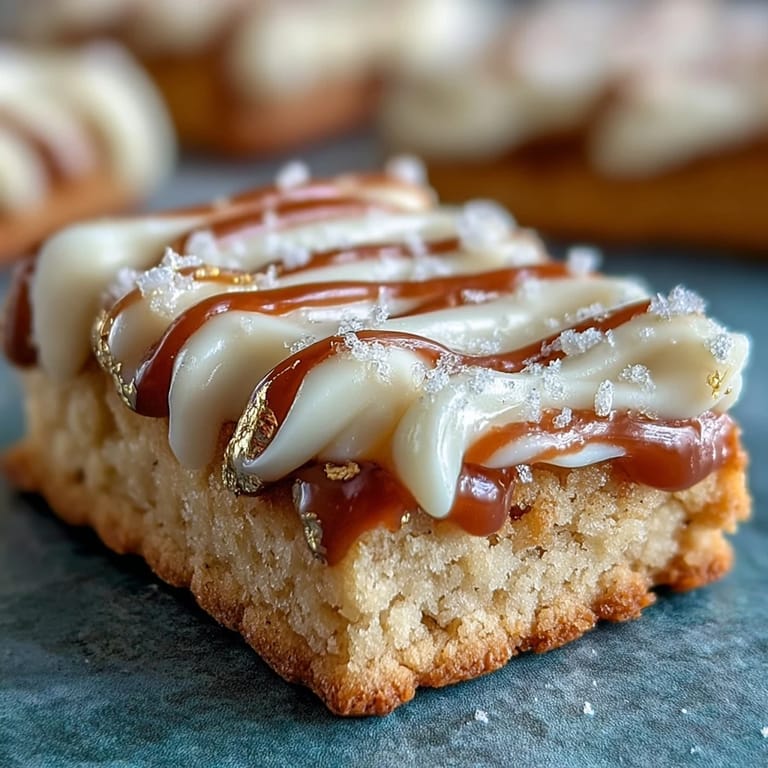 Save to Pinterest
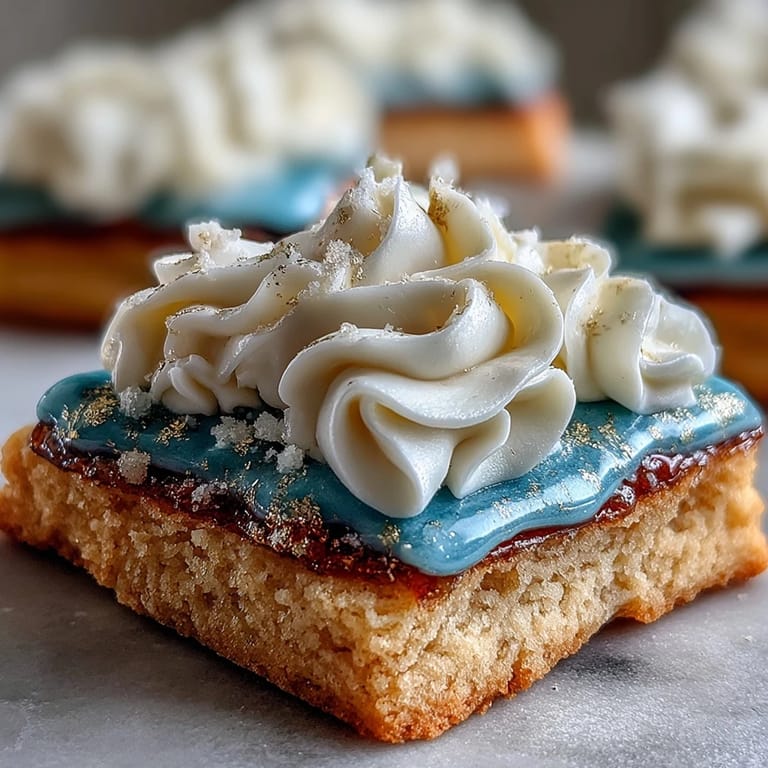
 Handing out these cookies at a backyard graduation party, I watched people pause with surprise and beam at their cookie’s little gold tassel—sometimes food really does make memories feel official.
Getting Royal Icing Just Right
I used to get anxious making royal icing, but patience with the mixer—waiting for that glossy peak—always leads to the best piping control and shine on the cookies.
Cutting and Baking for Clean Shapes
A cool kitchen helps keep the dough firm, so I sometimes pop my rolled sheets into the fridge before using the cutters; that way, every diploma and cap comes off the parchment in one piece.
Decorating Like a Pro, No Matter Your Experience
Even simple squiggles and dots can turn out showstopping when you add a swipe of gold—my family still thinks I spent hours, but I promise, it’s all about timing and having fun with it.
- Test your gold luster on a scrap before adding it to cookies.
- Save a few cookies for practice piping before moving to the main batch.
- Always let the cookies dry overnight to prevent smudges.
 Save to Pinterest
  Save to Pinterest
 Whether you’re celebrating a graduation or just want to bake something a little special, these cookies always bring out that extra sparkle—for you and whoever’s lucky enough to get one.
Recipe FAQs
- → How do I stop the cookies from spreading?
Chill the dough for at least 45 minutes before rolling and cutting to firm the butter. Roll to an even 1/4-inch thickness on a floured surface and bake until edges are just golden to preserve shape.
- → What icing consistencies should I use?
Use a stiff consistency for piping outlines and fine details, and a medium (slightly looser) consistency for flooding cookie surfaces. Keep a separate stiffer batch for lettering and tiny accents.
- → Can I use meringue powder instead of raw egg whites?
Yes. Substitute 4 tablespoons meringue powder plus about 6 tablespoons water to replace 2 large egg whites. Beat until you reach glossy, stiff peaks before adding sifted powdered sugar.
- → How do I achieve a smooth gold finish?
Mix edible gold luster dust with a few drops of clear alcohol (vodka) or lemon extract to make paint. Apply with a fine food-safe brush to fully set royal icing for a bright metallic sheen.
- → How long do decorated cookies need to dry before packaging?
Let flooded icing set at least 1 hour, then allow detailed decorations and gold accents to dry several more hours or overnight. Fully dry cookies stack better and resist smudging.
- → Can I make these ahead and how should I store them?
You can bake cookies ahead and store them in an airtight container layered with parchment for up to 1 week. Unfrosted dough can be chilled or frozen; thaw and roll while still cold for best results.