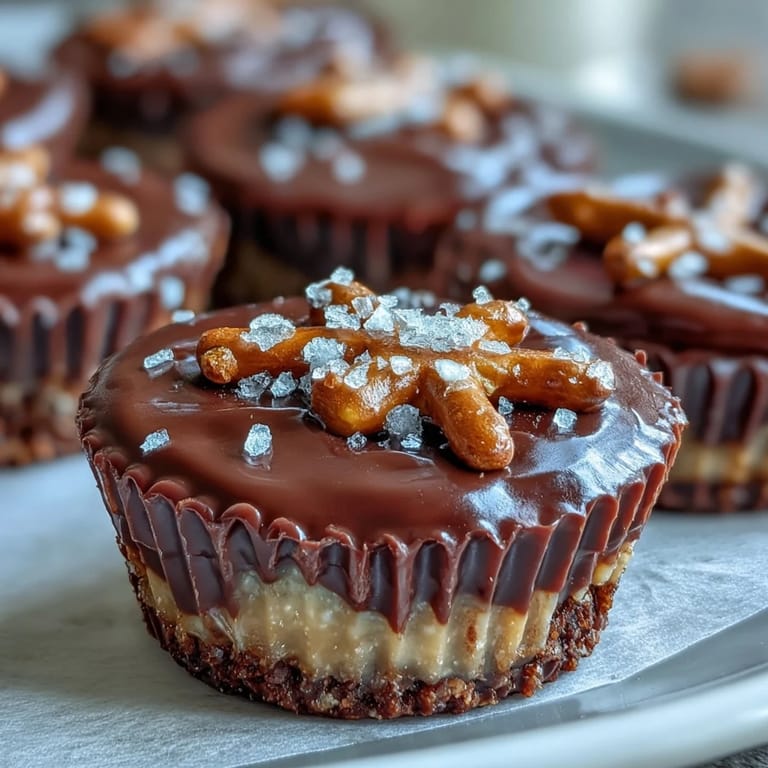
 Save to Pinterest
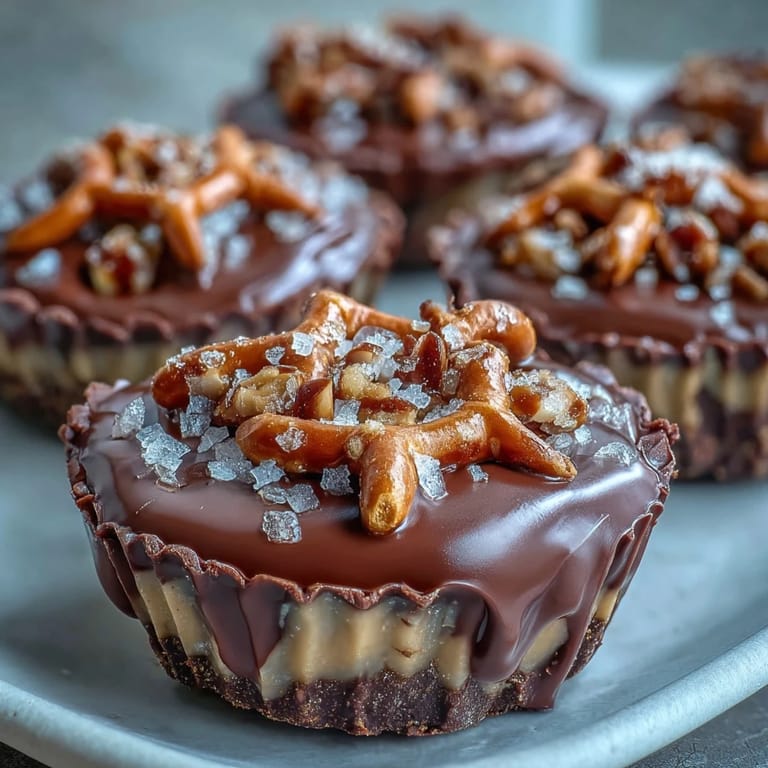
 My neighbor dropped off a box of fancy artisanal peanut butter cups last winter, and I became instantly obsessed with deconstructing them to understand their magic. The moment I bit into one, that crispy pretzel snap followed by creamy peanut butter and smooth chocolate felt like three desserts having a conversation in my mouth. I spent an afternoon in my kitchen testing ratios, melting chocolate at different temperatures, and discovering that homemade versions could actually surpass the store-bought ones. Now whenever I make these, the whole house smells like a chocolate factory mixed with a pretzel stand, and honestly, that's half the appeal.
I made these for a book club meeting once, nervous they'd feel too homemade compared to everyone else's contributions. The second someone bit into one and made that surprised face, I knew I'd created something special—three people asked for the recipe before dessert was even finished. That moment taught me that homemade food doesn't need to look Instagram-perfect to win people over; it just needs to taste like you cared enough to try.
Ingredients
- Mini salted pretzels (1 cup, crushed): These are the backbone of texture, and using the mini variety means you get more surface area for the butter to coat; if you only have regular pretzels, crush them smaller and you'll need slightly less.
- Unsalted butter (2 tbsp, melted): This binds the pretzel pieces without adding extra salt since the pretzels already contribute plenty of seasoning.
- Creamy peanut butter (3/4 cup): The star layer that should taste genuinely nutty; skip the heavily sweetened brands and reach for one where peanuts are the first ingredient.
- Powdered sugar (1/4 cup): Just enough sweetness to round out the peanut butter without making it cloying; sifting it first prevents lumps.
- Vanilla extract (1/4 tsp): A whisper of flavor that somehow makes the peanut butter taste more like itself, even though you won't notice the vanilla directly.
- Pinch of salt: This tiny amount amplifies everything around it and keeps the sweetness balanced.
- Semi-sweet chocolate chips (1 1/4 cups): The final layer that holds everything together, and semi-sweet offers the best middle ground between bittersweet intensity and milk chocolate sweetness.
- Coconut oil or unsalted butter (1 tbsp): Either one helps thin the chocolate slightly so it spreads smoothly without seizing; coconut oil makes the chocolate slightly snappier when it sets.
Tired of Takeout? 🥡
Get 10 meals you can make faster than delivery arrives. Seriously.
One email. No spam. Unsubscribe anytime.
Instructions
- Prep your muffin tin:
- Line a 12-cup muffin tin with paper liners, smoothing them down so they sit flat and won't slip when you're layering.
- Create the pretzel base:
- Crush the pretzels into uneven pieces roughly the size of pea gravel, then toss them with melted butter until every piece glistens. Spoon about 1 tablespoon into each liner and press down firmly with your fingers or the back of a spoon until it feels compact and stable, creating a foundation that won't crumble when you bite into it.
- Mix the peanut butter layer:
- Combine your peanut butter, powdered sugar, vanilla, and salt in a clean bowl, stirring until the mixture is completely smooth with no streaks of powdered sugar visible. The filling should feel spreadable but not runny, thick enough to hold its shape.
- Fill each cup:
- Dollop about 1 tablespoon of peanut butter mixture onto each pretzel base, then gently spread it with the back of a spoon until it reaches the edges, covering the pretzels completely so the chocolate layer will adhere evenly.
- Melt the chocolate:
- Place chocolate chips and coconut oil in a microwave-safe bowl and heat in 30-second bursts, stirring between each interval until the chocolate is completely smooth and glossy. Watch carefully in those final seconds—chocolate burns easily and even a few scorched chips can taste bitter.
- Top with chocolate:
- Spoon the warm chocolate over each peanut butter layer, using the back of the spoon to smooth it into an even coating that seals everything inside. Work while the chocolate is still warm enough to flow slightly but cool enough to not melt through the peanut butter.
- Chill until firm:
- Slide the tray into the refrigerator for at least 30 minutes, though 45 minutes gives you that satisfying snap when you bite through the chocolate. You'll know they're ready when the chocolate feels completely hard and no longer gives when you press gently with your finger.
- Finish and store:
- Pop the cups out of their liners and transfer them to an airtight container in the fridge, where they'll stay fresh and firm for up to two weeks if they last that long.
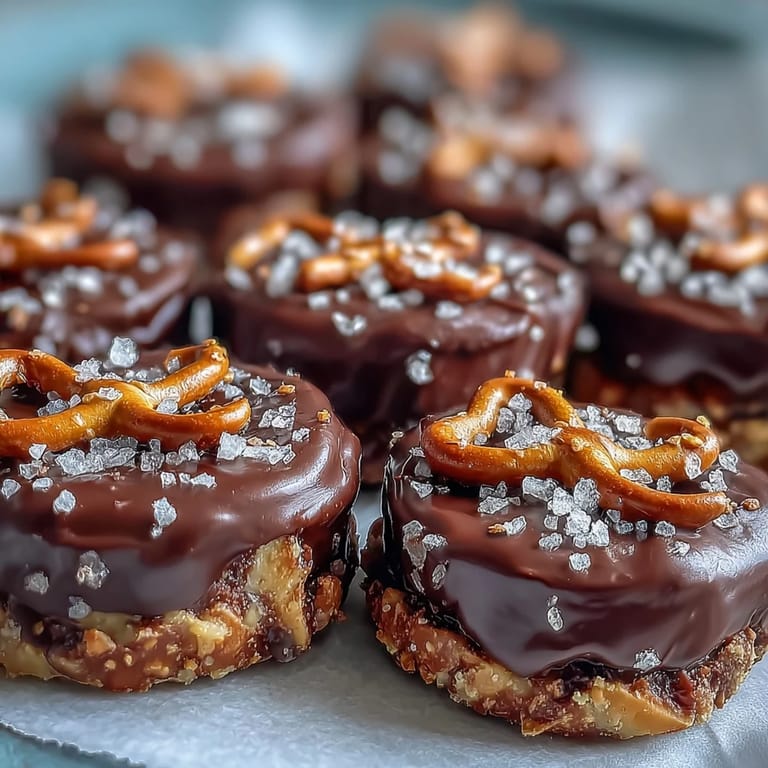
 Save to Pinterest
 My son once made these with me on a rainy afternoon when he was bored, and watching him carefully press each pretzel base with such concentration was unexpectedly touching. He took one bite of the finished cup and declared it better than anything we could buy, which felt like the highest compliment a parent could receive. It became our special project, and now he always asks if we can make them when he's home from school.
The Art of Layering
Getting the proportions right is less about measurements and more about understanding why each layer exists. The pretzel base needs enough butter to hold together but not so much that it becomes greasy; the peanut butter layer should be thick enough to anchor but thin enough that your teeth can actually crack through cleanly; the chocolate needs to be thick enough to provide a satisfying shell but thin enough that it isn't overwhelming. Think of it like architecture—each layer supports the one above it, and if you rush any step, the whole structure feels wrong.
Chocolate Melting Mastery
The biggest mistake I made early on was overheating chocolate, which causes it to seize into a grainy mess that won't spread smoothly no matter how hard you try. Microwave heat is unforgiving, so using 30-second intervals with constant stirring lets you monitor the temperature carefully—you want it melted and fluid but not hot to the touch. If your chocolate does seize, you can usually rescue it by stirring in a tiny bit more coconut oil, though prevention is infinitely easier than rescue.
Customization and Storage Secrets
These cups are remarkably flexible, and I've experimented with everything from almond butter to adding a sprinkle of sea salt on top of the chocolate layer. The most important discovery is that they actually improve after a day or two in the fridge as the flavors meld, so making them ahead of time is totally fine. They keep beautifully for two weeks as long as your container is airtight and they stay refrigerated.
- Try sprinkling crushed pretzels directly onto the melted chocolate layer before it sets for extra crunch and visual interest.
- Swap in dark chocolate for a sophisticated, less sweet version or milk chocolate if you prefer a sweeter, creamier profile.
- Switch to gluten-free pretzels without changing anything else and you've instantly made these accessible to more people.
 Save to Pinterest
 These little cups have become my go-to when I need to show someone I'm thinking of them without the pressure of a major baking project. There's something genuinely joyful about giving homemade candy that tastes this good and looks this polished.
Recipe FAQs
- → Can I use gluten-free pretzels?
Yes, gluten-free pretzels can substitute regular pretzels to make the cups suitable for gluten-sensitive diets.
- → How do I make the chocolate topping smooth?
Melt the chocolate chips with coconut oil or unsalted butter in short intervals, stirring frequently to ensure a smooth texture.
- → What is the best way to store these cups?
Store chilled in an airtight container in the refrigerator to maintain freshness and firmness.
- → Can I add extra crunch on top?
Sprinkling crushed pretzels on the chocolate before chilling adds extra crunch and texture.
- → Can dark or milk chocolate be used?
Both dark and milk chocolate work well; dark adds richness while milk provides extra sweetness.