 Save to Pinterest
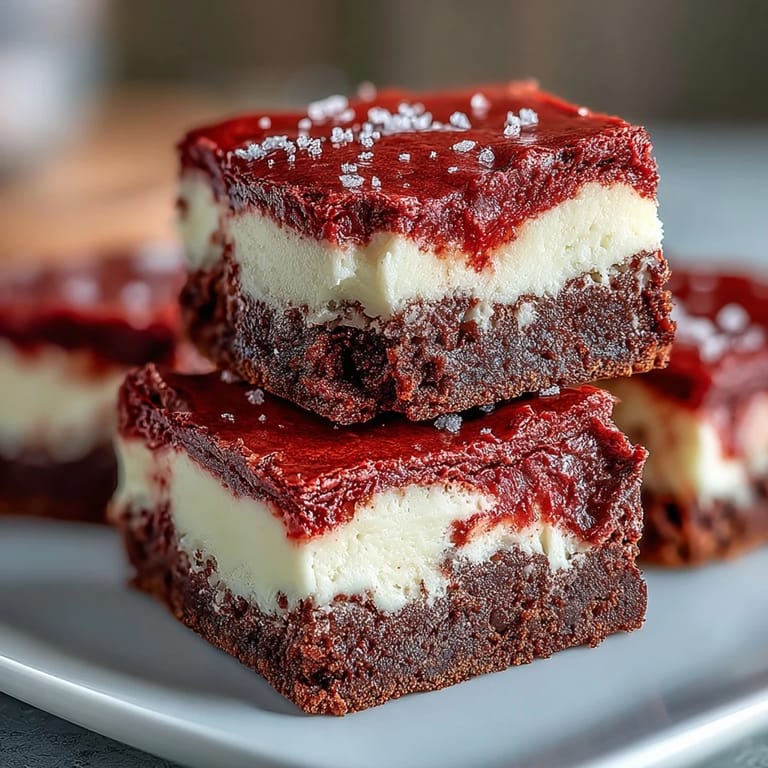
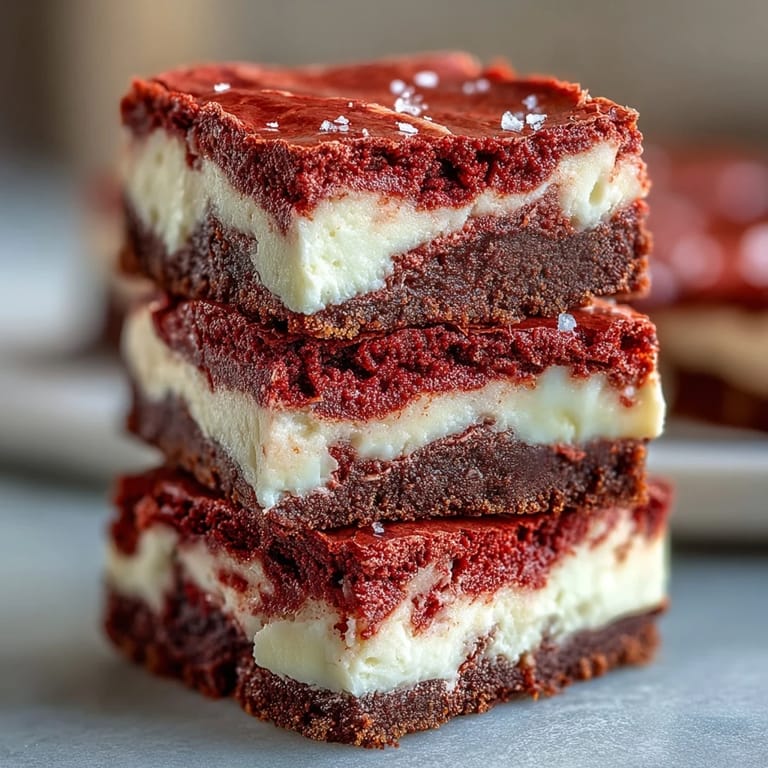
 These Red Velvet Cheesecake Brownies are the ultimate fusion of two classic desserts. Featuring a fudgy, decadent red velvet base swirled with a creamy cheesecake layer, they are perfect for indulgent occasions or festive gatherings where you want to impress with both flavor and appearance.
Save to Pinterest Whether you are celebrating a holiday or simply craving a rich treat, these brownies offer a sophisticated twist on the traditional chocolate brownie. The addition of the cheesecake swirl provides a velvety mouthfeel that complements the cocoa-infused red velvet batter beautifully.
Ingredients
Tired of Takeout? 🥡
Get 10 meals you can make faster than delivery arrives. Seriously.
One email. No spam. Unsubscribe anytime.
- 115 g (1/2 cup) unsalted butter, melted
- 200 g (1 cup) granulated sugar
- 2 large eggs, at room temperature
- 1 tsp vanilla extract
- 1 tbsp red food coloring (liquid or gel)
- 1/4 tsp salt
- 60 g (1/2 cup) all-purpose flour
- 20 g (2 tbsp) unsweetened cocoa powder
- 225 g (8 oz) cream cheese, softened
- 50 g (1/4 cup) granulated sugar
- 1 large egg
- 1/2 tsp vanilla extract
Instructions
- Step 1
- Preheat your oven to 175°C (350°F). Line a 20x20 cm (8x8-inch) baking pan with parchment paper, leaving some overhang for easy removal.
- Step 2
- Prepare the red velvet brownie layer: In a large bowl, whisk together melted butter and sugar until smooth. Add eggs, vanilla extract, and red food coloring; mix until combined.
- Step 3
- Sift in the flour, cocoa powder, and salt. Fold gently until just combined—do not overmix.
- Step 4
- Reserve 1/4 cup of the red velvet batter for swirling. Spread the remaining batter evenly in the prepared pan.
- Step 5
- For the cheesecake layer: In a medium bowl, beat the cream cheese until smooth. Add sugar, egg, and vanilla; beat until creamy and lump-free.
- Step 6
- Pour the cheesecake mixture over the red velvet batter in the pan and spread evenly.
- Step 7
- Dollop reserved red velvet batter by spoonfuls over the cheesecake. Use a knife or skewer to create swirls.
- Step 8
- Bake for 35 minutes, or until the center is just set and a toothpick inserted comes out with a few moist crumbs.
- Step 9
- Cool completely in the pan on a wire rack. Refrigerate for at least 2 hours before cutting into squares.
Zusatztipps für die Zubereitung
Um eine besonders cremige Käsekuchenschicht ohne Klümpchen zu erhalten, sollten Frischkäse und Eier unbedingt Zimmertemperatur haben. Das Auslegen der Backform mit Backpapier erleichtert das Herausheben der abgekühlten Brownies erheblich.
Varianten und Anpassungen
Für eine extra luxuriöse Note können Sie weiße Schokoladenchips unter den roten Brownie-Teig heben. Wer den Schokoladengeschmack intensivieren möchte, kann den Anteil des Kakaopulvers leicht erhöhen, wobei die rote Farbe dann etwas dunkler ausfällt.
Serviervorschläge
Lassen Sie die Brownies mindestens zwei Stunden im Kühlschrank fest werden, bevor Sie sie anschneiden. So erhalten Sie saubere Kanten und die optimale Textur. Ein Glas kalte Milch ist der ideale Begleiter zu diesem gehaltvollen Dessert.
 Save to Pinterest
 These Red Velvet Cheesecake Brownies are a show-stopping treat that tastes even better after the flavors have had time to meld in the refrigerator. Enjoy every rich, creamy bite of this festive dessert.
Recipe FAQs
- → Can I use natural food coloring instead of regular red food coloring?
Yes, you can use natural food coloring, though the red color may be less vibrant. Beet powder is a popular natural alternative, but you may need to adjust the quantity to achieve your desired shade.
- → Why do my brownies need to be refrigerated before cutting?
Refrigerating helps the cheesecake layer set completely, making the brownies easier to cut into clean squares. The cold temperature also enhances the fudgy texture and allows the layers to firm up properly.
- → Can I make these brownies ahead of time?
Absolutely! These brownies store beautifully in an airtight container in the refrigerator for up to 5 days. They actually taste even better the next day as the flavors meld together.
- → What can I do if my cheesecake layer has lumps?
Ensure your cream cheese is fully softened to room temperature before mixing. Beat it thoroughly until smooth before adding other ingredients. If lumps persist, strain the mixture through a fine-mesh sieve.
- → How do I know when the brownies are done baking?
The center should be just set and slightly jiggly. A toothpick inserted should come out with a few moist crumbs, not wet batter. Overbaking will result in dry brownies, so watch carefully during the last few minutes.
- → Can I freeze these brownies?
Yes, wrap individual brownies tightly in plastic wrap, then store in a freezer-safe container for up to 3 months. Thaw in the refrigerator overnight before serving for best texture.